


How to Change a Battery on Any Vehicle
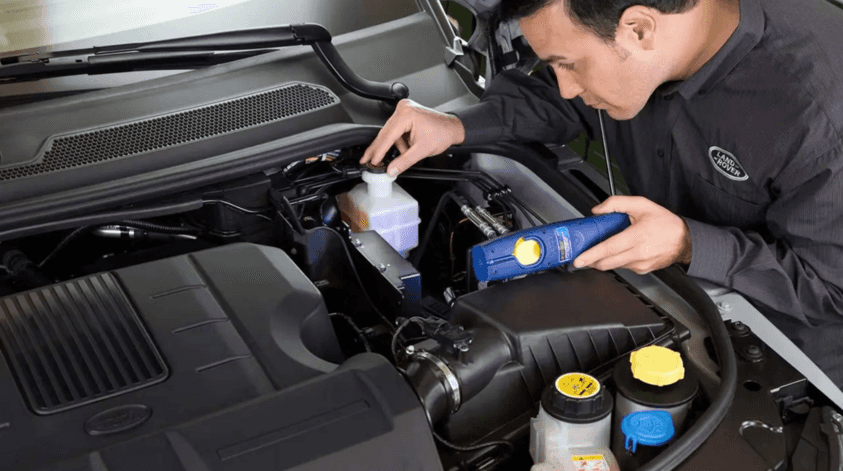
Photo Source/Copyright: Land Rover USA
You turn the key and get that slow, sagging crank; the sound of a car battery giving up. Nine times out of ten, that sagging groan means your battery has run its course. Swapping out a battery in your own driveway takes about an hour, two simple hand tools, and a willingness to get a little grime under your fingernails. It’s not complex work; it’s mostly about sticking to the proper order of operations.
Before You Grab the Wrench
Gather everything on your workbench before popping the hood. Hunting for a socket halfway through the job, with one terminal clamp already loose, is how a simple project eats an entire afternoon.
- Wrench or Socket Set: Small metric sizes cover both the terminal nuts and the hold-down bracket.
- Gloves and Eye Protection: Cheap insurance against stray sparks and corrosive battery acid.
- Wire Terminal Brush: Use a stiff wire brush to clean both the battery posts and the cable clamps.
- Replacement Battery: Match it strictly to your vehicle’s specifications, rather than buying whatever happens to be on sale.
- Memory Saver: Plugs directly into your OBD port to keep radio codes, seat positions, and computer presets alive while power is disconnected.
Removing the Dead Battery
Pop the hood and check the battery compartment. If it isn’t under the hood, flip through your owner’s manual, as some manufacturers tuck the battery in the trunk or underneath a rear seat. Ensure the vehicle is switched off, parked, and the parking brake is set.
Disconnect the negative terminal first; always. It’s the black terminal marked with a minus sign (-). Loosen the nut, work the clamp off the post, and tuck the cable where it can’t spring back into contact with metal. Next, remove the positive red clamp (+). Undo the hold-down bracket at the base and lift the battery straight up using two hands, keeping it level.
With the tray empty, scrub away the chalky white-green corrosion on the tray and cable clamps. Corrosion will quickly chew into a fresh connection if left behind. Inspect the cable ends for cracks and let everything dry completely.
Installing the New Battery
Lower the new battery into the tray facing the same direction as the original so the posts align correctly with the cables. Reattach the hold-down bracket before connecting the cables to avoid annoying rattles down the road.
Connect the positive clamp first, followed by the negative clamp. Snug the nuts down securely without over-tightening into the soft lead posts. Close the hood and start the engine, allowing a minute for the idle to settle.
Modern Tech and Registration
Vehicles featuring automatic stop-start systems rely on AGM or enhanced flooded batteries built to handle heavy electrical cycling. Dropping a standard flooded battery into an AGM tray will cause it to fail prematurely.
Furthermore, modern engine computers track battery condition to regulate charging voltage; new batteries often require registration at a shop so the system stops charging them like worn-out units. Trunk placement is often used by manufacturers because engine bay heat degrades battery life faster.
| Battery Type | Common Application | Swap Requirement |
|---|---|---|
| Standard Flooded | Vehicles without stop-start systems | Basic physical swap |
| AGM / Enhanced Flooded | Vehicles with stop-start or regenerative braking | Match exact chemistry; system registration may be required |
| 12-Volt Auxiliary | Hybrids (separate from primary traction pack) | Verify placement via manual before starting |
Recycling and Troubleshooting
Don’t leave the old battery sitting in your garage. Auto parts stores and recycling centers take used units for free, and lead-acid batteries are among the most recycled consumer products available.
- Diagnostics: Slow cranking that worsens in cold weather points to the battery. If the car dies repeatedly days after a jump start, the alternator is more likely at fault.
- Chemistry Rules: Installing a standard battery where an AGM belongs will result in early failure. Always match original equipment.
- Hybrid Clarification: Swapping the 12-volt auxiliary battery doesn’t touch the high-voltage hybrid traction pack, which is isolated and serviced separately.
If your battery is located in an inaccessible spot, consider professional service to save time and effort. Our certified technicians can match your battery chemistry, handle system registration, and get you back on the road quickly.
More From Land Rover Akron
Exploring the Modern Land Rover Defender Interior
Photo Source/Copyright: Land Rover USA Most SUVs that look this rugged from the curb ask you to make a sacrifice once you step inside, usually in the form of cheap plastics, clunky ergonomics, or exposed bolt heads where a proper trim panel ought to be. The Land Rover Defender interior takes a deliberate…
What Does It Mean When Cars Stall?
Photo Source/Copyright: JD Power There’s a specific, sickening half-second where your brain catches up to what just happened. The radio is still playing, the dashboard lights are illuminated, but the gas pedal feels dead under your foot. You aren’t accelerating anymore; you’re just coasting on momentum you didn’t ask for while surrounding traffic…
Why Your Brake Warning Light Is On
Photo Source/Copyright: RepairPal What should you do the moment that unexpected dashboard illumination catches your eye while traveling down the highway? A brake alert is one of the few dashboard warnings that deserves an immediate response. When the brake warning light is on, the color of the alert tells you how much time…